For Mac users, capturing the perfect screenshot is a fundamental skill that enhances productivity and simplifies the process of sharing information. Whether you’re a creative professional, a tech enthusiast, or a casual user, knowing how to screenshot on your Mac can be a game-changer. In this comprehensive guide, we’ll walk you through various methods, shortcuts, and tips to help you master the art of screenshotting on your Mac. From capturing the entire screen to selecting specific areas and utilizing hidden features, this guide covers it all.
Mac Screenshot Basics
Before diving into specific techniques, let’s familiarize ourselves with the basics of taking screenshots on a Mac. Apple provides built-in tools that cater to different screenshot requirements:
- Capture the Entire Screen:
- Press Command (⌘) + Shift + 3 to capture the entire screen.
- The screenshot will be saved to your desktop by default.
- Capture a Selected Portion:
- Press Command (⌘) + Shift + 4.
- Drag to select the portion of the screen you want to capture.
- Release the mouse button to take the screenshot.
- Capture a Specific Window:
- Press Command (⌘) + Shift + 4 + Spacebar.
- Click on the window you want to capture.
- The screenshot will be saved as a file on your desktop.
Advanced Screenshot Techniques for Mac
- Utilize Keyboard Shortcuts:
- Combine modifiers for added functionality, such as adding Control to save the screenshot to the clipboard instead of a file.
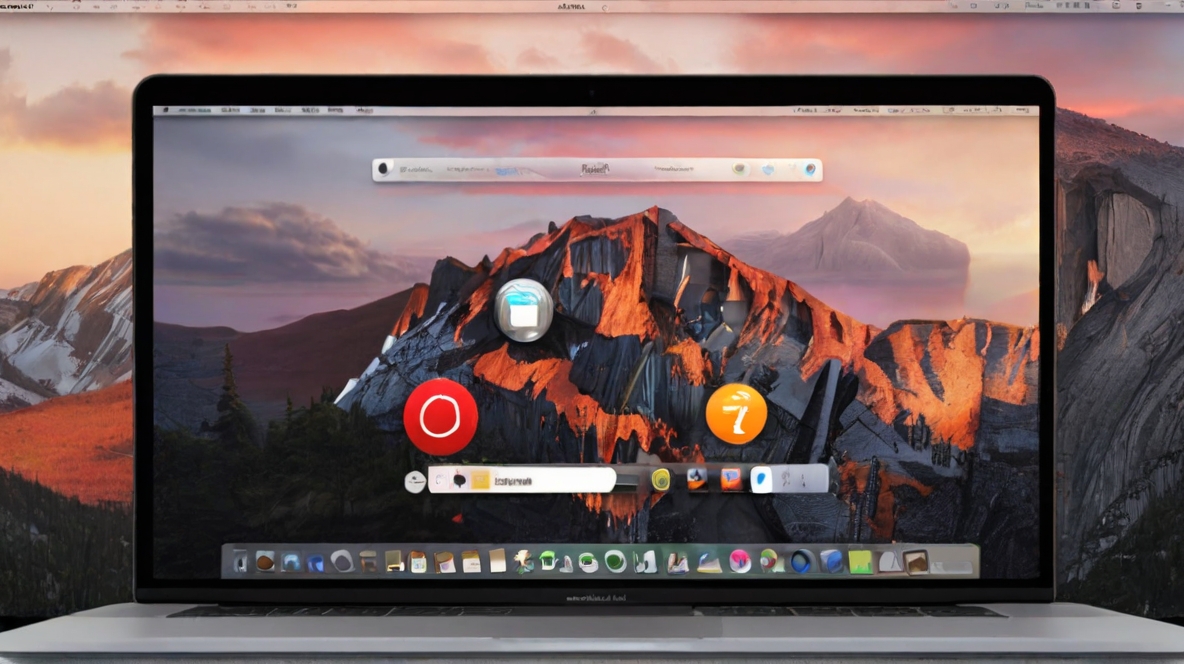
- Access the Screenshot Toolbar (macOS Mojave and later):
- Press Command (⌘) + Shift + 5 to bring up the Screenshot toolbar.
- Use the toolbar to capture the entire screen, selected portion, or a specific window.
- Access options for recording the screen and adjusting settings.
- Include or Exclude the Cursor:
- Hold down the Option key to change the crosshair to a camera icon, allowing you to include or exclude the cursor in the screenshot.
- Capture a Menu:
- Press Command (⌘) + Shift + 4.
- Press the Spacebar.
- Click on the menu to capture it.
- Use Terminal Commands:
- Advanced users can leverage Terminal commands for more control over screenshot parameters, such as file format and location.
Optimizing Screenshot Workflow
- Customize Screenshot Save Location:
- Change the default save location by using the Terminal or the Screenshot app’s preferences.
- Edit Screenshots in Preview:
- Open screenshots in Preview to make annotations, crop, or adjust colors.
- Utilize Third-Party Apps:
- Explore third-party apps for additional features, like delayed captures, instant sharing, and advanced editing.
Mastering the art of screenshotting on your Mac opens up a world of possibilities for effective communication, documentation, and creativity. From basic shortcuts to advanced techniques, you now have the tools to capture your screen with precision. Experiment with the methods that suit your workflow, and soon, taking screenshots on your Mac will become second nature. Whether you’re showcasing your latest design, capturing a funny moment, or documenting a technical issue, these skills will undoubtedly enhance your Mac experience. Happy screenshotting!