Knife sharpening is a skill that every cook and chef should master. A sharp knife not only makes cooking more enjoyable, but it also ensures precision and safety in the kitchen. While there are various methods of knife sharpening, using sharpening stones is considered one of the most effective and versatile techniques.
Why Use Sharpening Stones?
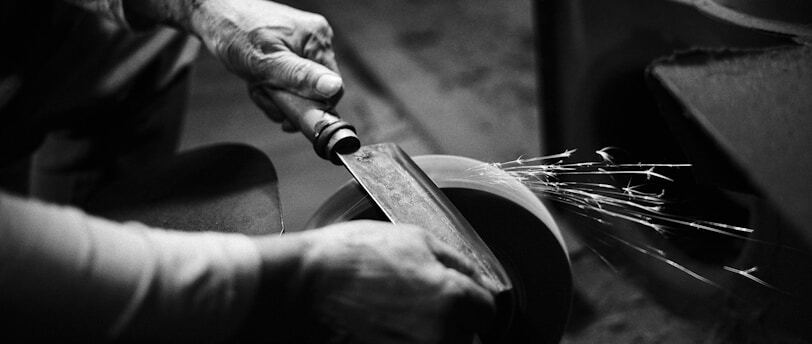
Sharpening stones, also known as whetstones, have been used for centuries to sharpen knives and other cutting tools. They offer a level of control and precision that other methods, such as electric sharpeners or honing rods, may not provide. Sharpening stones come in different grits, which determine the level of abrasiveness. Coarse grits are used for repairing damaged or dull blades, while finer grits are used for refining and polishing the edge.
Choosing the Right Sharpening Stone
When it comes to selecting a sharpening stone, there are a few factors to consider. The most important factor is the grit. Coarse grit stones, usually around 200-400, are ideal for repairing chips or reprofiling the edge. Medium grit stones, around 800-1000, are suitable for regular maintenance and sharpening. Fine grit stones, above 3000, are used for refining and polishing the edge.
Another consideration is the type of stone. There are three main types: oil stones, water stones, and diamond stones. Oil stones require oil as a lubricant, while water stones need water. Diamond stones, on the other hand, don’t require any additional lubrication. Each type has its advantages and disadvantages, so it’s a matter of personal preference.
The Sharpening Process
Now that you have chosen the right sharpening stone, it’s time to start sharpening your knife. Here is a step-by-step guide:
Step 1: Prepare the Stone
If you are using an oil stone, apply a few drops of honing oil on the surface. For water stones, soak them in water for about 10-15 minutes before use. Diamond stones don’t require any preparation.
Step 2: Establish the Angle
Hold the knife at the desired angle against the stone. The angle will depend on the type of knife and the purpose of sharpening. For most kitchen knives, a 20-degree angle is a good starting point. You can adjust the angle based on your preference and the type of cutting tasks you perform.
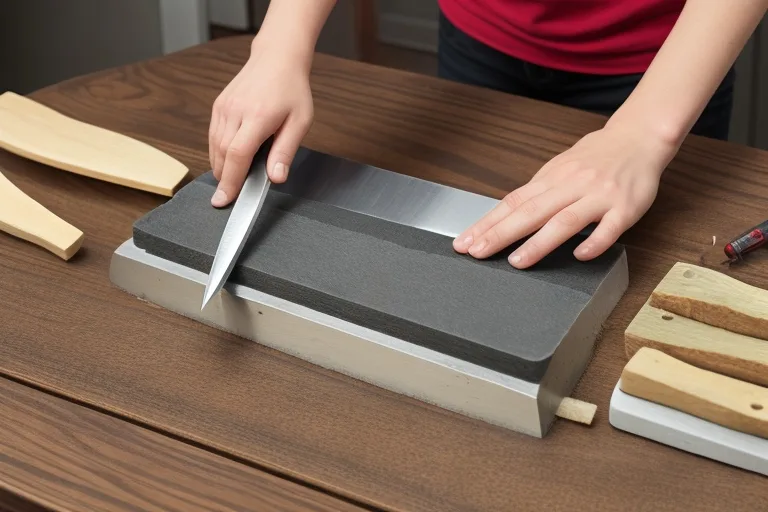
Step 3: Start Sharpening
Using moderate pressure, slide the knife blade across the stone in a sweeping motion. Start from the base of the blade and move towards the tip, maintaining a consistent angle. Repeat this motion several times, alternating sides after each stroke. This ensures an even sharpening and prevents the formation of a burr on one side of the blade.
Step 4: Test for Sharpness
After a few strokes, test the sharpness of the knife by gently running your finger along the edge (be careful not to cut yourself!). If the blade feels dull or rough, continue sharpening. If it feels sharp and smooth, move on to the next step.
Step 5: Refine the Edge
Once you have established a sharp edge, it’s time to refine and polish it. Switch to a finer grit stone and repeat the sharpening process. This step removes any remaining burrs and gives the blade a smooth, polished finish.
Step 6: Stropping (Optional)
For those seeking an extra level of sharpness, stropping can be done after sharpening. Stropping involves running the knife blade gently across a leather strop or a piece of denim. This helps to align the edge and remove any microscopic burrs.
Knife Maintenance and Care
Now that your knife is sharp, it’s important to maintain its edge. Here are some tips for knife maintenance:
1. Clean and Dry
After each use, clean your knife with warm soapy water and dry it thoroughly. This prevents the blade from rusting and keeps it in good condition.
2. Use a Cutting Board
Avoid cutting on hard surfaces like glass or marble, as they can dull the blade. Instead, use a wooden or plastic cutting board to protect the edge.
3. Hone Regularly
Even with regular use, a knife’s edge can start to dull. To keep it sharp, use a honing rod or a fine grit sharpening stone to realign the edge between sharpening sessions.
4. Store Properly
When not in use, store your knife in a knife block, on a magnetic strip, or in a protective sheath. This prevents the blade from coming into contact with other objects and keeps it safe.
Conclusion
Using sharpening stones is a skill that can enhance your cooking experience and ensure the longevity of your knives. With the right technique and practice, you can master the art of knife sharpening and enjoy the benefits of a sharp, precise blade in your kitchen. Remember to choose the right stone, establish the correct angle, and follow the sharpening process step by step. With time and patience, you’ll become proficient in keeping your knives razor-sharp and ready for any culinary challenge.